
Printing a day's orders
The print page — working through a queue, the three documents, printing one or all of them, and what happens when orders arrive mid-run.
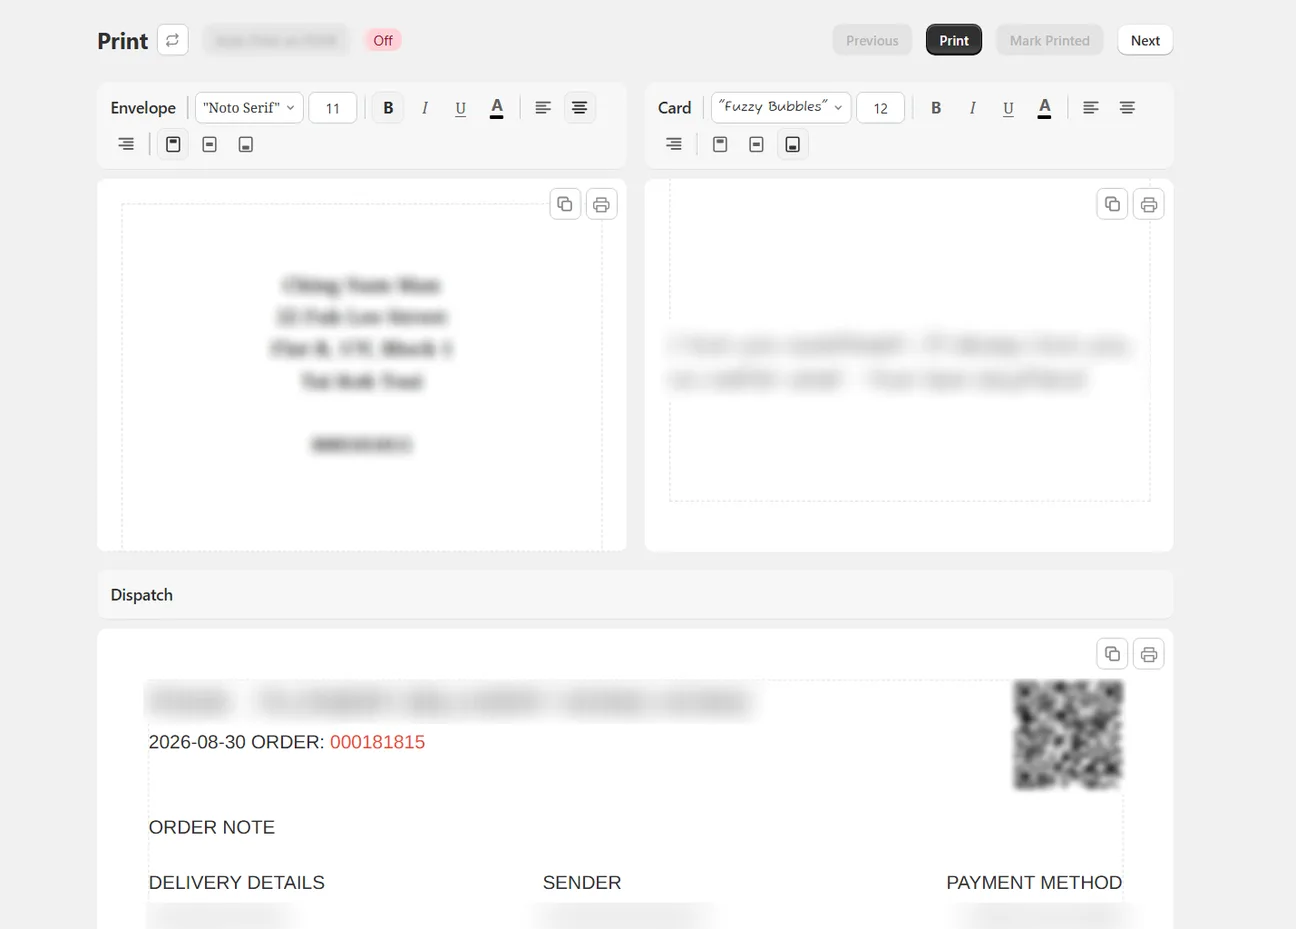
The print page shows one order at a time as it will appear on paper, and walks you through a batch.
Getting there
Either select orders on the Orders page and press Print, or open Print from the sidebar, which loads your default filter — usually today.
The toolbar shows your position in the batch: 1 of 14. Use Previous and Next to move through it.
The three documents
- Dispatch sheet — the full order summary your team packs from.
- Envelope — the recipient’s name and address.
- Card — the gift message.
Each appears as its own paper preview, at the real size and margins you have configured.
Printing one document or all of them
Each paper preview has its own printer icon, which prints just that document. This works on every plan.
The Print button in the top toolbar sends all three documents at once, each to whichever printer you assigned it. That is the multi-printer feature, and it needs Growth or above.
If only some documents have a printer assigned, the toolbar Print tells you what was sent, what was skipped and why. Marking the order as printed and moving to the next order only happen when every document actually went — so a half-configured setup cannot quietly overstate what it did.
The card deck
An order can have more than one message, and each one prints on its own physical card:
- a message attached to an individual product (Growth and above)
- a message added once for the whole order
- the Shopify order note
Two product messages plus a cart message plus a note is four cards. The card preview has its own numbered navigation so you can read and edit each one, and the per-card printer icon reprints only the card on screen.
Identical text is never merged, and ordering two of the same item does not produce two cards.
Each kind of message has its own variable in the card template. If your template does not include the product-message variable, product messages will not print — even though you can see them on the order.
The template that ships with the app includes all of them. A template you customised earlier may not. If messages are missing from your cards, check the template before anything else.
Long messages
Each document can be set to Cut off, New page or Double-sided for content that will not fit one sheet. You set this per document in Settings → Print.
With New page or Double-sided selected, the per-document printer icon still produces a single clipped sheet. PrintNode and QZ Tray produce every sheet correctly on every route. If a long message is being cut off, check which button you pressed.
Marking orders as printed
Mark printed adds a tag to the order — you choose which tag in Settings. That tag is what the dashboard’s unprinted count reads.
Printing through the toolbar tags the order automatically. Printing a single document with a per-box icon does not.
Orders arriving mid-run
When an order joins the day you are printing, it goes to the front of the queue — above orders placed hours earlier. That looks wrong until you know why: you walk forward through a queue, so an order slotted in behind you would never be reached at all.
The counter is the check. It goes from "1 of 8" to "1 of 9", so nothing is lost.
If you re-date an order away from today while the print page is open, it stays in the queue on screen. Pulling paper out from under someone mid-run causes more trouble than one spare document.
The Action Centre and Orders counts drop immediately, so when the two disagree, those are right. Reopen the print page to resync.
On a day with more than 50 orders, moving an older order onto that day will not show it on the print page straight away, and the refresh icon will not fetch it either. It arrives as you work towards the end of the queue, and it is there next time you open the page.
The practical advice: on a big day, re-date orders before you start the print run.
Next
Still stuck? Ask us about this page and we will answer directly.